Follow any motorcycle forum and sooner or later a posting will show up about how some idiot cager (auto driver) pulled right in front of a biker and cut them off or worse yet, caused an accident or injury. Invariably the report will have verbiage such as, "they looked right at me and pulled out". Then consensus then becomes that the cagers don't care about the bikers. I don't think that's true. Consider the following explanation:
Several decades ago there was this great article in the U.S. Naval Aviation Safety Magazine about why pilots forget to put the landing gear down. Even with all the warning equipment, checklists, and even co-pilot backup, it continues to happen. So much so that, even today, every attended airport has a spotter in the tower to check that the landing gear is down as the airplane approaches.
What this article concluded was that the aircrew was focusing on an "unsafe" indication. So when the checklist comes to "gear down and locked?" the pilot looks at the gear indicator. This indicator has 3 states, up/down/unsafe. Unsafe (a barber pole) is shown when it is transitioning between up and down. The pilot DOESN'T see a barber pole and proceeds.
I've compared this to vehicles and I think it accounts for most of the things we see all the time. Drivers are looking for other CARs. The don't see a car and proceed. This explains how folks can pull out in front of pedestrians, bicycles, motorcycles, trucks, fire engines, or anything. It's not that they don't see these things it's that they don't register.
You can research this yourself and find all kinds of reports of this phenomenon.
Look at your own behavior and make sure you're not doing it too. I know I've had to consciously raise my awareness of pedestrians. I've caught myself a couple of times not noticing them as I was making a right on red.
Be safe out there.

IronButt Association rides, reports, and product evaluations.
Saturday, August 31, 2013
Thursday, August 29, 2013
Triumph Trophy Rally Performance
This captures some of my impressions of the Triumph Trophy (TT) and how it performs as a long distance rallying platform. If you want to skip parts here is the index of the presented information:
All this prep came at a cost. I've had the bike for a couple of months and had only put about 1500 miles on it. All that changed starting last Thursday morning when I headed out to Big Sky. Over the last 5 days I managed to put 3500 miles on the bike on a variety of roads and conditions. The overall track from my Spot satellite tracker is located on my Spot Adventure page. No longer is my TT all clean and pretty, now it's battle tested.
 It's hard to tell the breakdown of this route from the link so I'll expand a bit. I took a back road for the trip up which added 125 miles to the 1100 mile direct route up I-15. This route offered more sights and more opportunities to test the performance of the Trophy. I rode 850 miles the first day and the remaining 400 the next. The rally started Saturday at 0500 and ended 1300 Sunday during which time I rode 1436 miles across a mix of interstate, primary, secondary, and tertiary roads. [NOTE: I skipped unpaved: I want to get a bit more familiar with the bike (or get some more shop and parking lot dings) before I risk dropping the bike. Unlike my BMW this bike has absolutely zero tip over protection. It looks like a parking lot drop would rack up at least a $1000 in body damage.] The return trip of 1100 miles was all interstate over a period of 17 hours (I took a 2 hour nap), I had get-home-itus and was in a hurry.

During the outbound leg I hit some good thunderstorms with lots of HEAVY crosswinds and torrential rains. The bike was extremely stable. Other than having to lean into the wind it didn't seem to know it was getting some 40+MPH gusts. I, on the other hand, was having to hang on for dear life, I thought I was going to be blown off the saddle. The aftermath was notable as you can see from this picture.
The cockpit stayed pretty dry, I didn't get any wetter than I expected.
During the rally I keep my rally pack in a plastic dry bag affixed to the handlebars. On my previous bike, at highway speeds my tank bag would get blown all over. With the TT the cockpit is devoid of any wind at all.


The cockpit is nice and compact. Everything is within easy reach and the instrumentation is close enough that my tri-focal glasses didn't have any problem getting things in focus for a good view.
- Prelude
- Wind and Weather Protection (Crosswind Performance)
- Tire Wear
- Instrumentation
- Cruise Control
- Lighting
- Ergonomics
- Handling and Performance
- Summary
Prelude
I finally got the TT out for a good test. I had added a custom built seat from Seth Laam, a dash shelf from MaPLE for my accessories, a fuel cell from MaPLE for extended range, and storage and wiring for my electronics in preparation for the Big Sky Montana "Into The Unknown Rally".All this prep came at a cost. I've had the bike for a couple of months and had only put about 1500 miles on it. All that changed starting last Thursday morning when I headed out to Big Sky. Over the last 5 days I managed to put 3500 miles on the bike on a variety of roads and conditions. The overall track from my Spot satellite tracker is located on my Spot Adventure page. No longer is my TT all clean and pretty, now it's battle tested.

Wind and Weather Protection

During the outbound leg I hit some good thunderstorms with lots of HEAVY crosswinds and torrential rains. The bike was extremely stable. Other than having to lean into the wind it didn't seem to know it was getting some 40+MPH gusts. I, on the other hand, was having to hang on for dear life, I thought I was going to be blown off the saddle. The aftermath was notable as you can see from this picture.
The cockpit stayed pretty dry, I didn't get any wetter than I expected.
During the rally I keep my rally pack in a plastic dry bag affixed to the handlebars. On my previous bike, at highway speeds my tank bag would get blown all over. With the TT the cockpit is devoid of any wind at all.
Tire Wear
Based on my past experiences with high speed rated tires, I was concerned that the Z rated tires wouldn't make the miles I had planned. I'm quite impressed with the tire wear so far. These have 7100 miles and appear to have at least another 3000 miles left. The 1100 mile all interstate trip back sure did "square" off that rear tire though. I'll have to do some canyon carving on these southern California mountain roads to try to round off the tires.

Instrumentation
The LCD instrument display is clearly visible both day and night. Sunlight on the dash makes it hard to read without craning your neck to get some shading.
The fuel gauge, low fuel light, and distance to empty (DTE) are all WORTHLESS. The low fuel light comes on at 1/4 tank. According to the consumed fuel reading there is 2+ gallons of fuel still in the tank. It's a nice bright yellow idiot light that will get your attention in the daytime and irritate the dickens out of you at night. Since it is on for hours it doesn't provide useful information. The DTE computes based on fuel guage reading, so when it thinks the tank is empty it reads 0 miles. I drove 40+ miles with this reading 0! The fuel consumed seems to be the most accurate. If you want to stretch your range you will need to know how many gallons you have on board, then have faith and believe that the consumption is accurate. I'll try to play some more with this and when the bike runs out of gas.
The buttons on the handlebars are not especially intuitive. Even after 40+ hours in the saddle I'm struggling to hit the correct button and have to glance occasionally. At night there is no illumination so this is problematic.
The kill switch is easy to trip if you are repositioning your hands to change riding position. On the plus side, hitting the kill switch does give you a nice jolt of adrenaline.
Cruise Control
Setting the CC briefly displays the set speed on the info display of the dash. This will reappear and flash if you are over or under this set speed. The + and - set keys redisplay this info, each key press moves it 1 mph. Speeds from 29mph to 100mph can be set (with the error on the speedometer the actual CC speed range is 27mph to 96mph.
You can only set the CC in 4th gear and higher. At first this was a bit aggravating to me since I like to use the CC for really low speeds like school zones and small towns, my concern was misdirected. Since the TT has such a wide power band it has no problem with the 27mph in 4th gear
It holds the set speed spot on. Sometimes it is a bit quirky to set or resume but once you understand it's operation it works quite well.
Lighting
I had plenty of nighttime driving. Since I've been accustomed to having auxiliary lighting the stock lamps seemed inadequate. In all fairness, in my community the conventional wisdom is that you can't have too much light. The low beams are fair and the high beams reached out pretty nicely. Enough that I could get oncoming traffic to flash at me.
What is really nice is that the headlight aim is electrically adjustable. Even while you are moving! It was easy to optimize the throw of the beam.
Ergonomics
The cockpit is nice and compact. Everything is within easy reach and the instrumentation is close enough that my tri-focal glasses didn't have any problem getting things in focus for a good view.
The footpegs are way too high for me. I don't understand why the bike for the US market has a special lowered seat. Since I'm reluctant to lower the footpegs (which would reduce lean angle), I'm looking into how I might raise the seat. I'll report on this if successful.
Handling and Performance
This is certainly a sport touring motorcycle. Coming from a theoretical sport tourer (the BMW K1200LT), I certainly can tell I've not been riding a sport tourer. The TT has outstanding performance. The bike specs say it is 662 lbs. (Wet) (without panniers). I had it loaded with both panniers at 25 lbs, each, tool and maintenance items for 10 lbs., tank bag at 3 lbs., Storm iM2500 case loaded for rally mode at 30 lbs., the fuel cell and luggage deck at 22 lbs., and at time an extra 38 lbs. of fuel, for a 148 lb. luggage load. Adding my riding weight and the stock fuel load brought the estimated total wet weight to 1070.
This load didn't seem to impact the performance at all. With 135HP this bike can handle anything you can throw at it. The quick acceleration makes it a breeze to manage traffic.
I had the dynamic suspension (TES - Triumph Electronic Suspension) set for normal suspension two up riding. I noticed the difference in weight just after a fill up but one would expect that when adding ~75 lbs. of load.
One quirk about the TES, when you first turn on the key, the system adjusts itself. If you start the engine before the TES has completed it's adjustment it complains and takes longer to finish. For quick stops, one needs to get in the habit of not turning off the key but using the kill switch to shut off the engine. This is not a battery problem since the headlight and many accessories are not powered unless the engine is running.
Summary
All in all I am very pleased with the platform. Over the 4000 miles this last week my fuel consumption was in the 45 mpg range. Not bad for a FUN bike. [more later]
Saturday, August 17, 2013
Using a Receiver to Integrate Bluetooth into an Intercom System.
This is a HOWTO (or at least how I did it) on integrating a bluetooth output into another system.
In my case, I had a Triumph Trophy with a cool stereo [AM/FM/XM/WX] system but no way to listen to it. Most bike manufacturers are not providing an audio output other than Bluetooth.When I first looked at the Trophy I was very disappointed that there was no audio out from the system that I could plug into my system. I figured the radio would be like my LT just so much dead weight but I found a solution!
I have a pretty severe hearing impairment. I can't wear my hearing aids under my helmet (even if I wanted), and I can't hear normal headphones unless the sound is blasting way too loud. Since I want to protect my hearing from getting worse I wear custom molded earplugs with transducers installed. My particular brand is the Challenger headset from Earplugco [no affiliation just a very satisfied customer].
I connect this to a MixIt2 [again, highly recommended] which has multiple inputs and a single output with enough gain I can turn the volume up to compensate for not being able to wear my hearing aids. I use the MixIt to integrate 2 GPS units, my radar detector, and a music source.
I bought a Bluetooth receiver which paired up with no problems at all with the Trophy. I take the audio out and route it to my MixIt and viola I have all the Trophy sources in my headset.
Here is the receiver I got. $20 from Monoprice.com
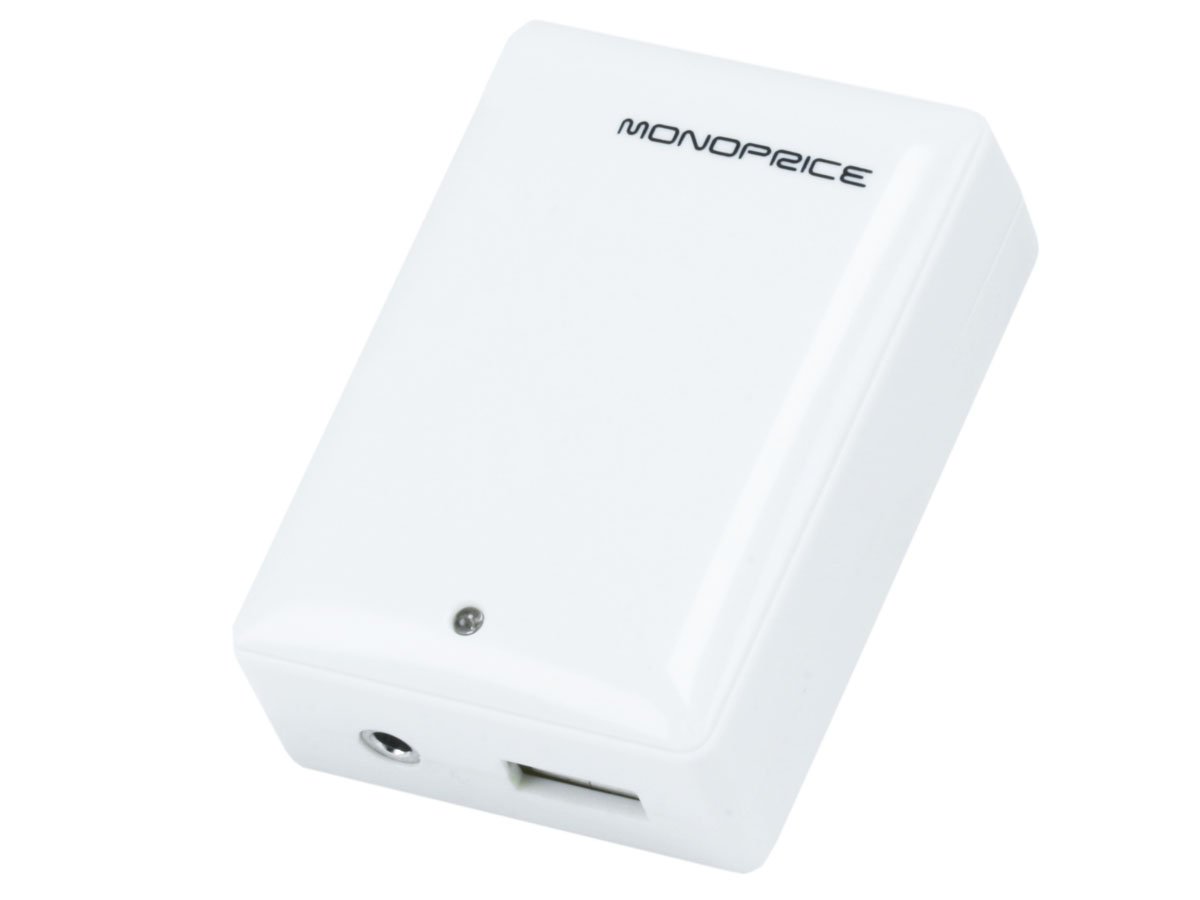
The nice thing about this product is that it has no on/off switch which is exactly what you want with a car or bike radio system. Connect this puppy to the same circuit as the radio and when the radio powers up, so does this. I haven't had any problems with it reconnecting. It takes about 15 seconds but has always come back.
I recommend this product as a good bluetooth receiver with the following caveats:
Here is how I mounted it.
.JPG)
.JPG)
This all fit nicely in the glove box where I mounted a USB hub so I can also plug in my phone.

As far as where I put all this other stuff that will come in another post.
In my case, I had a Triumph Trophy with a cool stereo [AM/FM/XM/WX] system but no way to listen to it. Most bike manufacturers are not providing an audio output other than Bluetooth.When I first looked at the Trophy I was very disappointed that there was no audio out from the system that I could plug into my system. I figured the radio would be like my LT just so much dead weight but I found a solution!
I have a pretty severe hearing impairment. I can't wear my hearing aids under my helmet (even if I wanted), and I can't hear normal headphones unless the sound is blasting way too loud. Since I want to protect my hearing from getting worse I wear custom molded earplugs with transducers installed. My particular brand is the Challenger headset from Earplugco [no affiliation just a very satisfied customer].
I connect this to a MixIt2 [again, highly recommended] which has multiple inputs and a single output with enough gain I can turn the volume up to compensate for not being able to wear my hearing aids. I use the MixIt to integrate 2 GPS units, my radar detector, and a music source.
I bought a Bluetooth receiver which paired up with no problems at all with the Trophy. I take the audio out and route it to my MixIt and viola I have all the Trophy sources in my headset.
Here is the receiver I got. $20 from Monoprice.com
The nice thing about this product is that it has no on/off switch which is exactly what you want with a car or bike radio system. Connect this puppy to the same circuit as the radio and when the radio powers up, so does this. I haven't had any problems with it reconnecting. It takes about 15 seconds but has always come back.
I recommend this product as a good bluetooth receiver with the following caveats:
- The audio out level not adjustable and is VERY high. This is obviously made to tie in to a stereo system. I had to put in an inline volume control to turn it down because when I adjusted the volume to a tolerable level with my MixIt my other devices didn't have enough volume for me to hear.
- The USB power input jack is an A male. This requires a USB A Male to Male connector which is really rare. Monoprice has them for 85 cents but I didn't know I needed it when I bought mine. Be sure you buy one with the unit or, if you're handy with a soldering iron you can just run a USB male pigtail out like I did.
NOTE: The documentation/instructions for this device are incomplete. It is not clear at all that the USB port is for INPUT power. Especially since they used the wrong gender for an input port. It took a lot of research before I found that this port does accept a 5VDC input to power. Even then I wasn't sure until I used this port to power the device.
- I took the unit apart and stripped out the A/C adapter tabs and trimmed the plastic a bit so I could get some attaching velcro to lay flat.
- While the unit was apart I took an old USB cable, cut off the male end, and soldered it on the main PCB.
- I wanted to leave the USB female connector in place, a bit of dremel work made clearance for the cable.
As far as where I put all this other stuff that will come in another post.
Friday, August 16, 2013
Triumph Trophy SE Rally Prep
I just spent the first part of the week getting the bike rally ready. I had held off on connecting the aux fuel tank since the main tank is going to be replaced under a factory recall. Every tank I've dealt with needed a bulkhead fitting installed and I didn't know how Triumph would feel about a hole in their tank. Since it didn't look like the tank was going to be replaced in time I decided to take my chances.
Getting the plastic off is much easier that with the BMW K1200LT. By easier I mean easier after you figured out where they hid all the bolts. It was time consuming but the next trip will be better.
After getting the left side plastic off I discovered that the main tank is quite interesting.
 It bears a striking resemblance to a Klingon Bird of Prey.
There are "wings" that straddle the frame and extend forward and down. Triumph has installed a fuel line from the lower part of each wing that returns to the main tank. This allows gas to be scavenged out of the wings.
To remove the tank you have to split this line. Triumph has put in a handy hose union. From my standpoint of needing to tap into the tank this was great news. I simply removed their straight connector and installed a T. I intended to shoot some pix but managed to forget that task.
The bad news I learned was that, like the LT, the air filter is underneath the fuel tank. The only way to remove the fuel tank is to remove these wing drain lines since they run through the frame. I don't see any way to do this without draining the fuel. So this design, while good for my one time installation, is going to be a nightmare for routine maintenance.
I also got all my electronics wired in. I tapped into the GPS power plug to draw power for my audio components. Power to my GPSs is straight from the battery since I don't want them switched.
It took some engineering but I finally figured out how to route my wiring to the dash shelf without making any ugly holes. I Dremeled a bit of the plastic near each windshield arm to allow my wires to come through.
 This image is on the right side where I have run the power for my radar detector.
On the left side is the power and audio cables for the shelf mounted GPS.
Getting the plastic off is much easier that with the BMW K1200LT. By easier I mean easier after you figured out where they hid all the bolts. It was time consuming but the next trip will be better.
After getting the left side plastic off I discovered that the main tank is quite interesting.
It bears a striking resemblance to a Klingon Bird of Prey.There are "wings" that straddle the frame and extend forward and down. Triumph has installed a fuel line from the lower part of each wing that returns to the main tank. This allows gas to be scavenged out of the wings.
To remove the tank you have to split this line. Triumph has put in a handy hose union. From my standpoint of needing to tap into the tank this was great news. I simply removed their straight connector and installed a T. I intended to shoot some pix but managed to forget that task.
The bad news I learned was that, like the LT, the air filter is underneath the fuel tank. The only way to remove the fuel tank is to remove these wing drain lines since they run through the frame. I don't see any way to do this without draining the fuel. So this design, while good for my one time installation, is going to be a nightmare for routine maintenance.
I also got all my electronics wired in. I tapped into the GPS power plug to draw power for my audio components. Power to my GPSs is straight from the battery since I don't want them switched.
It took some engineering but I finally figured out how to route my wiring to the dash shelf without making any ugly holes. I Dremeled a bit of the plastic near each windshield arm to allow my wires to come through.
On the left side is the power and audio cables for the shelf mounted GPS.

Saturday, August 3, 2013
Triumph Trophy SE Auxiliary Fuel Cell and Luggage
I have gotten really spoiled having an aux fuel tank, so this was high on my list of farkles to add to this bike. It just came back from being powder coated yesterday and is mounted today. Well...the main tank is subject to a recall. I'm waiting on this to get completed before I do the plumbing.
 This is a 4.9 gallon tank that brings the total capacity to just under the IBR specification of 11.5 gallons. It has been fully pressure tested. It is constructed of .100" thick marine grade aluminum alloy with internal baffling. The filler neck has a non vented cap attached to the tank with a brass chain lanyard. The total wet weight is less than 35 pounds (14kg).
It was a bit of a challenge in that the pillion seat is used to retain the rider seat. Since I recently built a tank for a BMW R1100RT that had the same problem I know what a challenge it could be. I opted to go with a simpler design that I had used on a BMW F800. This design raises the tank up enough that the seat can be removed from underneath it.
Being mounted this high may not be the most attractive solution (as compared to the R1100RT) but the height really won't impact handling as much as a pillion rider would. I'll post some ride reports as it gets tested. One major advantage of this design is the simplicity which reduces the cost and will give this tank a very competitive pricing structure.
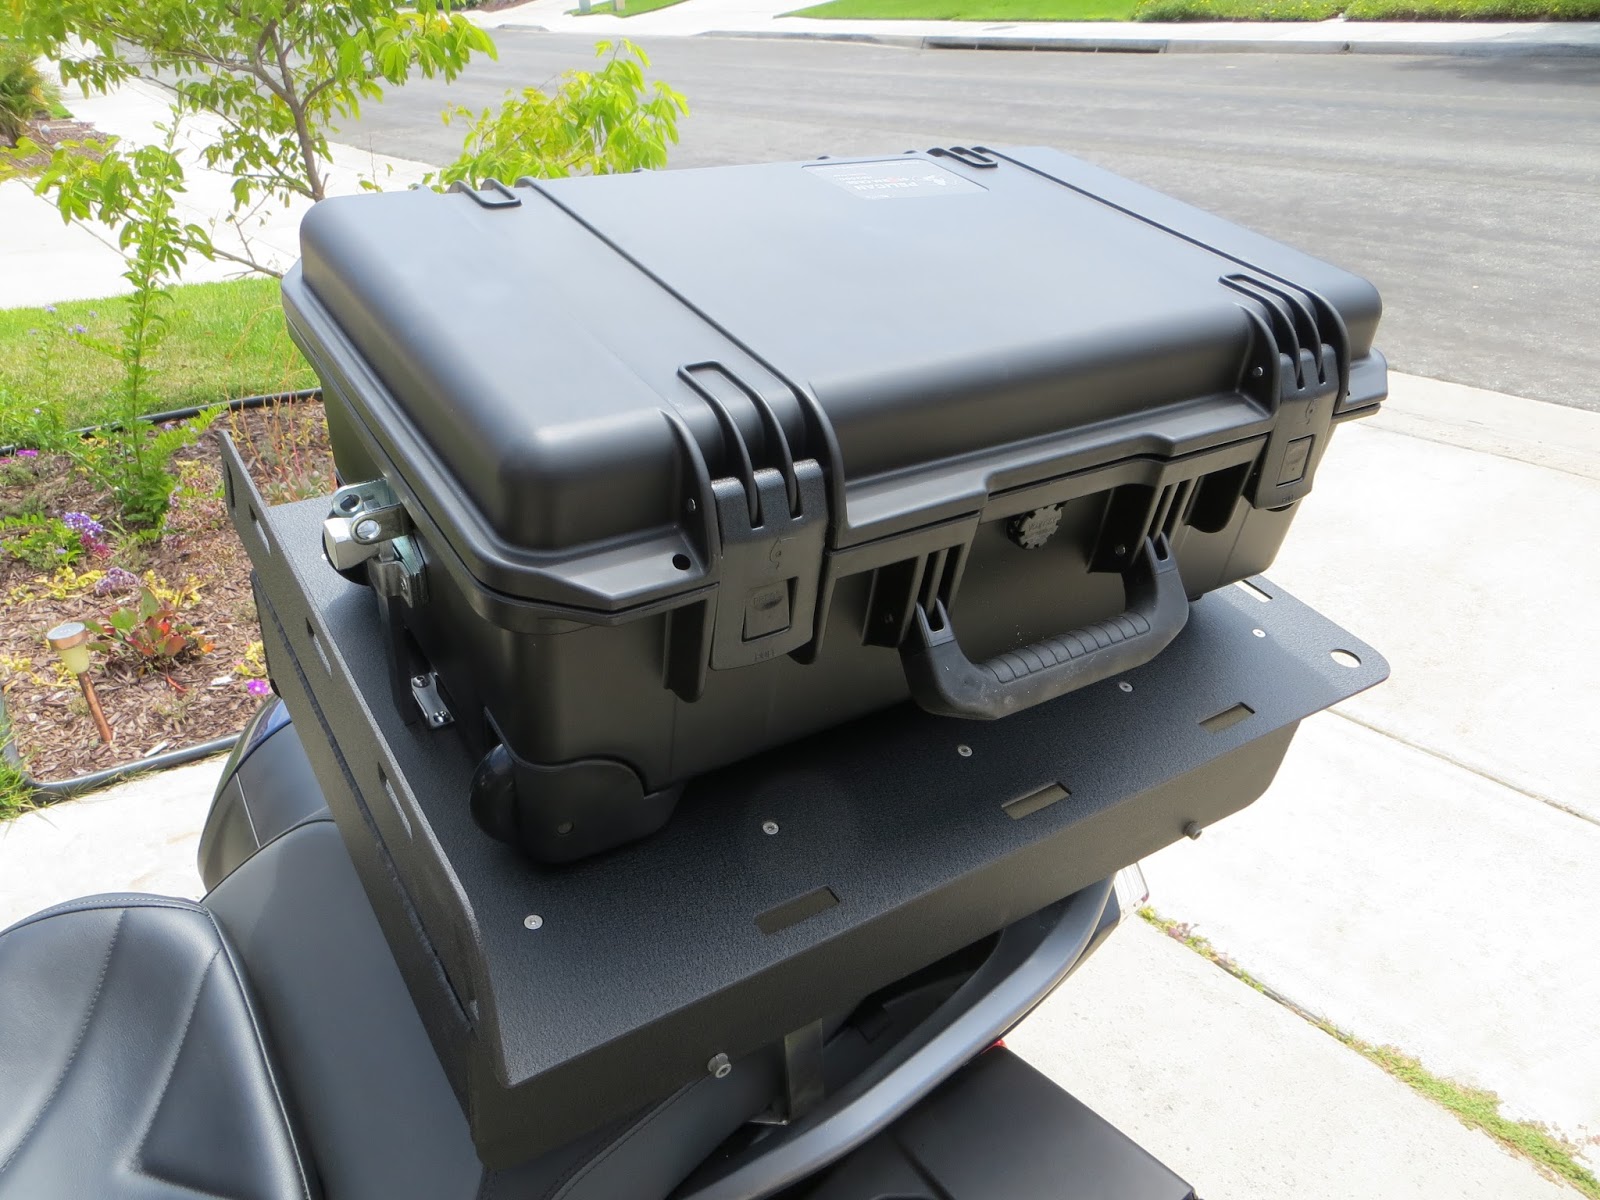
 The stock Trophy panniers are very roomy, much more so than what I had on the K1200LT. But...it is impossible to get things into or out of them while they are mounted on the bike. Opening them will spill the contents on the ground.
I have really missed having my quick connect Storm case. Another reason I was in a hurry to finish up the cell.
More pictures detailing the mounting hardware and other views are on my web album.
 This is a 4.9 gallon tank that brings the total capacity to just under the IBR specification of 11.5 gallons. It has been fully pressure tested. It is constructed of .100" thick marine grade aluminum alloy with internal baffling. The filler neck has a non vented cap attached to the tank with a brass chain lanyard. The total wet weight is less than 35 pounds (14kg).
It was a bit of a challenge in that the pillion seat is used to retain the rider seat. Since I recently built a tank for a BMW R1100RT that had the same problem I know what a challenge it could be. I opted to go with a simpler design that I had used on a BMW F800. This design raises the tank up enough that the seat can be removed from underneath it.
Being mounted this high may not be the most attractive solution (as compared to the R1100RT) but the height really won't impact handling as much as a pillion rider would. I'll post some ride reports as it gets tested. One major advantage of this design is the simplicity which reduces the cost and will give this tank a very competitive pricing structure.
 The stock Trophy panniers are very roomy, much more so than what I had on the K1200LT. But...it is impossible to get things into or out of them while they are mounted on the bike. Opening them will spill the contents on the ground.
I have really missed having my quick connect Storm case. Another reason I was in a hurry to finish up the cell.
More pictures detailing the mounting hardware and other views are on my web album.
Triumph Trophy SE Dash Shelf Update
 The dash shelf got painted and put back together. I had considered anodize but somebody pointed out that it would be a semi-gloss finish and would show reflections in the windscreen. Excellent point, the raw aluminum was a real irritant. I went with the wrinkle black that I have become fond of putting on the fuel tanks. I think it looks really nice.
Please disregard the wiring. That is the next item on the agenda.

In a 2 hour road test I couldn't see any reflection off of the shelf. Also, I couldn't see any vibration in the shelf. The GPS mounted on it was no more or less blurred by the road vibration than the one mounted on the triple tree,
More pictures showing the completed shelf and how the design and build progressed can be seen on my web album.
Subscribe to:
Posts (Atom)